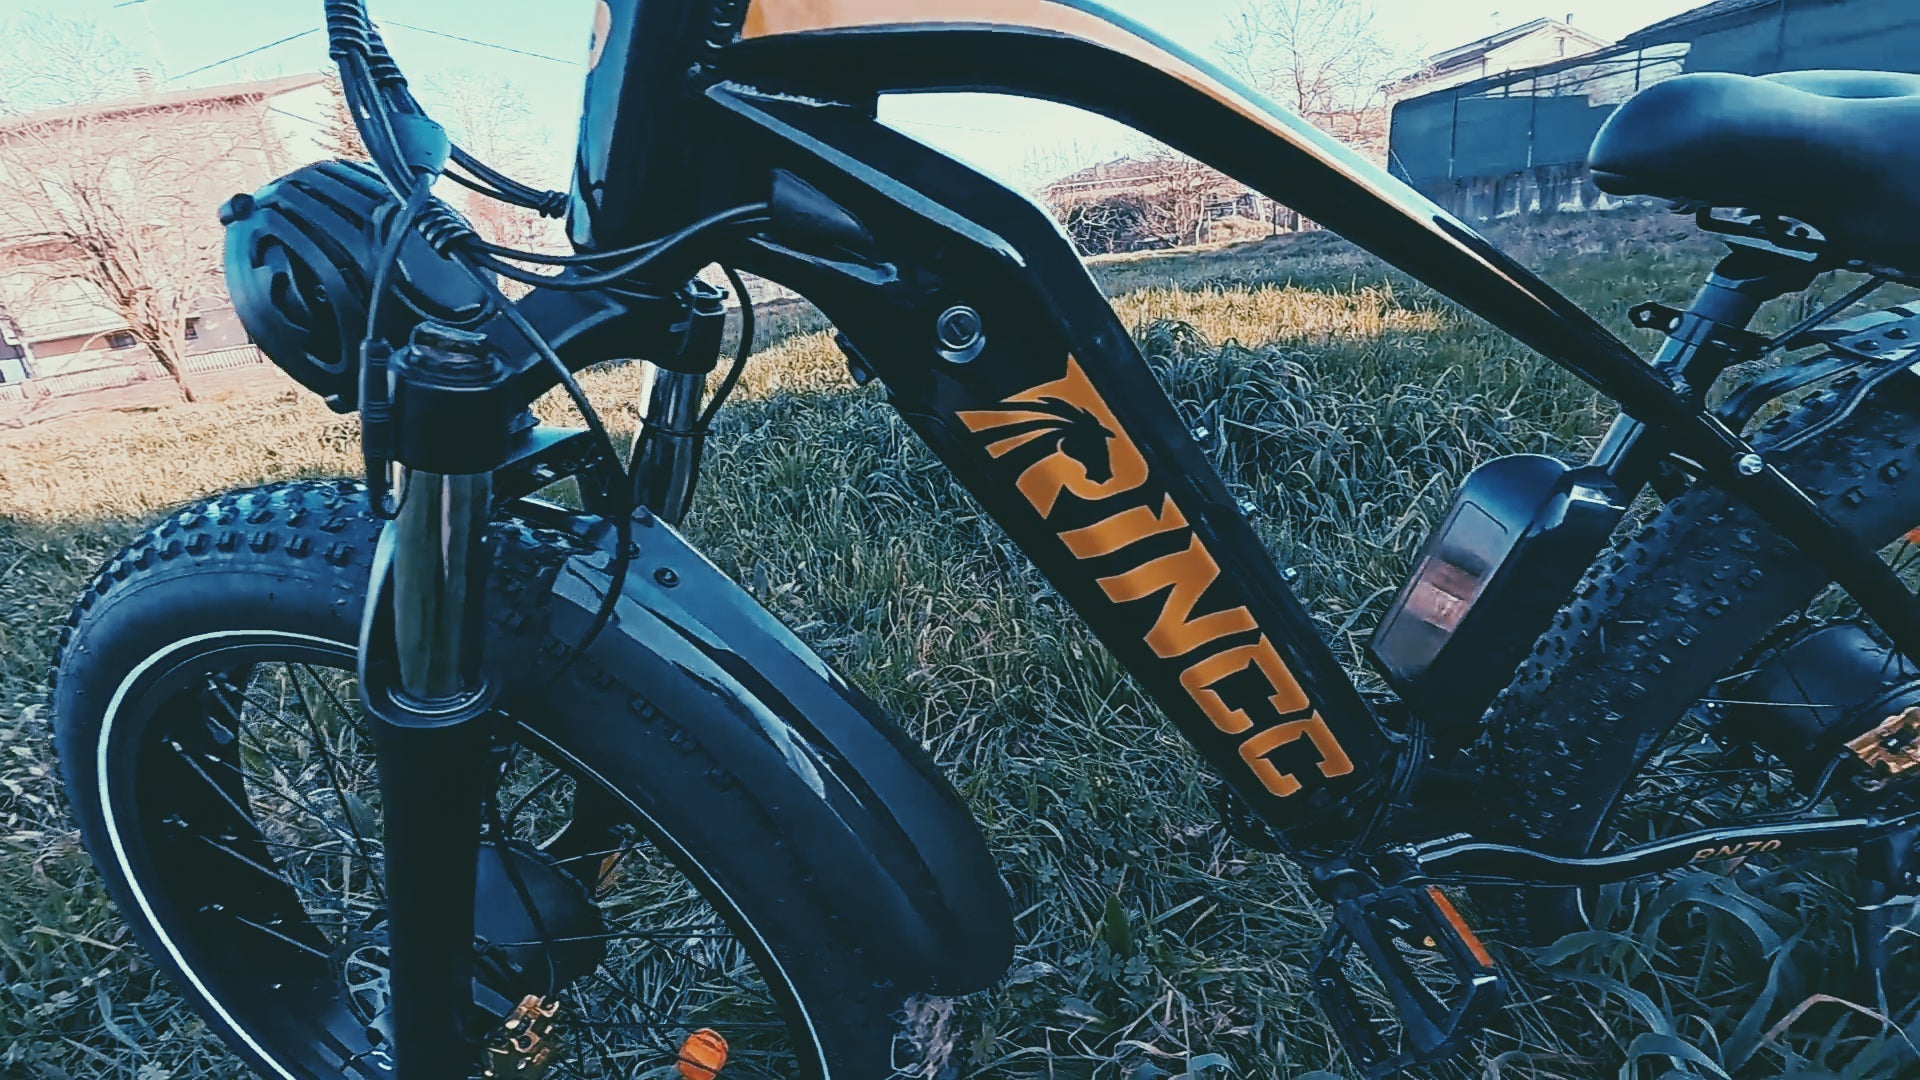
The controller in your Rincc electric bike is the central hub of its electrical system, akin to the brain of the bike. It manages the power flow between the battery, motor, and other components, ensuring smooth acceleration, braking, and overall performance. Understanding how to troubleshoot and repair common controller issues can save you time and money, and keep your bike running efficiently.
Common Controller Issues and Their Causes
1. Loss of Power or Motor Not Running
- Symptoms: The motor doesn't engage when you throttle or pedal assist is inactive.
-
Possible Causes:
- Loose or disconnected wiring between the controller, battery, or motor.
- Blown fuse or tripped circuit breaker.
- Controller malfunction due to overheating or internal failure.
- Solution: Inspect all connections for tightness and corrosion. Replace any blown fuses or reset circuit breakers. If the issue persists, the controller may need replacement.
2. Overheating
- Symptoms: Controller casing becomes excessively hot during or after use.
-
Possible Causes:
- Prolonged high-power usage without adequate cooling.
- Poor ventilation around the controller.
- Internal component failure leading to excessive current draw.
- Solution: Ensure the controller is mounted in a well-ventilated area. Avoid extended periods of high-speed riding. Consider adding heat sinks or improving airflow around the controller.
3. Erratic Behavior or Flickering Display
- Symptoms: Unpredictable motor responses, flickering or blank display on the controller interface.
-
Possible Causes:
- Loose or damaged wiring, especially in the throttle or brake sensors.
- Software glitches or corrupted firmware.
- Electrical interference or grounding issues.
- Solution: Check and secure all wiring connections. Reset the controller to factory settings if possible. Reflash the firmware if the issue continues.
Step-by-Step Guide to Diagnosing and Repairing Controller Issues
Step 1: Safety First
- Disconnect the battery before performing any work on the electrical system to prevent shocks or short circuits.
Step 2: Visual Inspection
- Examine the controller for any visible signs of damage, such as burn marks, melted components, or loose connections.
- Check all wiring for signs of wear, fraying, or corrosion.
Step 3: Test Connections
- Use a multimeter to check the continuity of wires and ensure there are no open circuits.
- Verify that all connectors are clean and securely attached.
Step 4: Check the Battery
- Ensure the battery is fully charged and functioning properly.
- Test the battery voltage to confirm it meets the required specifications for your controller.
Step 5: Inspect for Overheating
- Feel the controller during operation to detect any excessive heat buildup.
- If overheating is detected, allow the controller to cool down and consider improving ventilation.
Step 6: Software Reset or Update
- If your controller has a reset function, perform a factory reset to clear any software glitches.
- Check for firmware updates from Rincc and apply them if available.
Step 7: Replace Faulty Components
- If a specific component is identified as faulty (e.g., a blown fuse or damaged wire), replace it with a compatible part.
- For complex issues, consider consulting a professional technician.
Maintenance Tips to Prevent Future Issues
- Regular Inspections: Periodically check all wiring, connectors, and the controller for signs of wear or damage.
- Keep Connections Clean: Ensure connectors are free from dirt and corrosion to maintain good electrical contact.
- Avoid Overloading: Do not exceed the recommended weight limits or use the bike for tasks beyond its design specifications.
- Proper Storage: Store your bike in a dry, cool place to prevent moisture-related issues.
- Firmware Updates: Regularly check for and apply firmware updates to ensure optimal performance.
When to Seek Professional Help
If you've gone through the troubleshooting steps and the issue persists, or if you're uncomfortable performing repairs yourself, it's advisable to contact Rincc's customer support or visit an authorized service center. Attempting repairs without proper knowledge can lead to further damage or void warranties.
Rincc E-Bikes: Models Highlight
Rincc offers a range of e-bikes equipped with advanced controllers for superior performance:
- Rincc RN50: Designed for urban commuting, the RN50 combines efficiency with comfort, featuring a responsive controller that adapts to various riding conditions.
- Rincc RN70: Built for off-road adventures, the RN70 boasts a robust controller that manages power delivery seamlessly, ensuring stability on challenging terrains.
Conclusion
The controller is a vital component of your Rincc electric bike, and understanding how to troubleshoot and maintain it can enhance your riding experience. By following the steps outlined above, you can address common issues and ensure your bike operates smoothly. Remember, regular maintenance and prompt attention to problems can extend the lifespan of your bike and provide a safer, more enjoyable ride.


Aktie:
How Does Rincc Illuminate Your E-Bike Adventures?
What Should You Do To Stay Safe On Your E-Bike During Winter Rides?